Homemade VCO vs. Store-Bought: Why Fresh Beats Processed
The phrase "cold-pressed virgin coconut oil" often conjures images of expensive health store products or complex artisanal processes. But what if we told you that creating this liquid gold in your own kitchen is not only simple but also profoundly rewarding? Forget the fancy labels and hefty price tags; the true magic of virgin coconut oil lies in its purity, and that purity is best achieved through a hands-on approach. When you embark on a diy how to make virgin coconut oil project, you're not just making an ingredient; you're reclaiming control over your pantry and elevating your wellness routine.
In a world saturated with processed foods, the allure of homemade virgin coconut oil stands out. It's a vibrant, aromatic testament to nature's simplicity, offering a depth of flavor and a richness of nutrients that often gets lost in commercial production. This isn't just about saving money; it's about experiencing coconut oil as it's meant to be – fresh, potent, and utterly authentic.
The Allure of Virgin Coconut Oil: What Makes it Special?
Virgin Coconut Oil (VCO) isn't just another fat; it's a celebrated superfood renowned for its versatility and profound benefits across culinary, beauty, and health applications. But what truly distinguishes it, particularly the homemade variety? The answer lies in its extraction method: cold pressing. This technique, the cornerstone of our diy how to make virgin coconut oil guide, is a gentle process that avoids any external heat, chemicals, or solvents.
Imagine this: fresh coconut meat, carefully pressed to release its creamy milk. This milk then naturally separates, allowing the pure oil to rise to the surface. No boiling, no simmering, no roasting – just natural separation at room temperature. This minimalist approach is critical because it preserves the coconut's delicate nutrients, potent antioxidants, and signature aroma and flavor profile. Unlike many store-bought alternatives that undergo high-heat refining, deodorizing, or bleaching, homemade cold-pressed VCO retains its raw integrity. It smells like a sun-drenched beach, tastes like pure tropical essence, and delivers all the unadulterated goodness that coconuts offer.
Homemade vs. Store-Bought: Unpacking the Differences
While both homemade and commercial virgin coconut oils share the same origin, their journey from tree to jar can vastly alter their quality. Understanding these differences is key to appreciating why the effort of diy how to make virgin coconut oil is so worthwhile.
Transparency and Purity
When you make VCO at home, you are the sole ingredient auditor. You know exactly what goes into your oil: fresh, mature coconuts, and perhaps a splash of warm water to aid blending. There are no hidden additives, no obscure preservatives, and certainly no chemical residues from processing. This level of transparency is virtually impossible to guarantee with store-bought oils, where "virgin" or "cold-pressed" labels can sometimes mask complex processing techniques or sourcing from lower-quality coconuts. The peace of mind that comes from knowing your oil is 100% pure and natural is invaluable.
Flavor and Aroma Profile
Perhaps the most immediate and striking difference is in the sensory experience. Homemade virgin coconut oil boasts an intensely fresh, vibrant, and unmistakable coconut scent and taste. It's rich, fragrant, and reminiscent of cracking open a fresh coconut on a tropical island. Commercial oils, even those labeled "virgin," can often have a muted, sometimes slightly metallic, or even rancid aroma if not stored or processed optimally. Heat-processed oils, in particular, lose much of their characteristic fragrance and develop a blander, often neutral taste. With homemade, your dishes, skin, and hair will carry the authentic essence of the coconut, not a factory imitation.
Nutritional Integrity
The cold-pressing method inherent in making VCO at home is not just about flavor; it's about preserving vital nutrients. Heat can degrade sensitive compounds like medium-chain triglycerides (MCTs), antioxidants, and certain vitamins that contribute to coconut oil's renowned health benefits. By skipping high temperatures, homemade VCO retains more of these beneficial properties, offering a more potent and nutritionally rich product. You’re ensuring that the goodness of the coconut remains intact, ready to nourish your body from the inside out and the outside in.
Cost-Effectiveness and Empowerment
Initially, purchasing a few coconuts might seem comparable to buying a small jar of store-bought oil. However, for regular users, making VCO at home can prove to be significantly more cost-effective over time. Beyond the monetary savings, there's an immense sense of accomplishment and empowerment that comes from crafting such a valuable product yourself. It connects you more deeply with your food sources and cultivates a self-sufficient mindset, making you feel like an off-grid homesteader, even if you reside in a city apartment.
Your DIY Guide: How to Make Virgin Coconut Oil at Home
Ready to experience the unparalleled quality of homemade virgin coconut oil? The process is surprisingly straightforward, relying on natural separation rather than complex machinery. This method, often referred to as the "wet mill method," allows you to control every step and guarantee the purity of your final product.
What You'll Need
- Ingredients:
- 2-3 mature brown coconuts (for a decent yield)
- A splash of warm, filtered water (just enough to aid blending)
- Equipment:
- A sturdy coconut grater or a powerful blender/food processor
- Cheesecloth or a clean, fine-weave cotton cloth
- A large mixing bowl
- A glass jar with a lid (for storage)
- A fine-mesh strainer (optional, for extra clarity)
The Step-by-Step Cold-Press Method
- Prepare the Coconuts: Carefully open your mature brown coconuts. This might involve tapping them with a hammer until they crack, then draining the water (which you can drink!). Once open, use a sturdy spoon or a coconut scraper to meticulously remove all the white flesh from the shells.
- Grate or Blend the Flesh:
- If grating: Use a coconut grater to shred the coconut flesh into fine pieces.
- If blending: Chop the coconut flesh into smaller chunks and place them in your blender. Add just enough warm (not hot!) water to create a thick, creamy paste when blended. Avoid adding too much water, as this can dilute the milk and reduce your oil yield. Blend until smooth and well-pulverized.
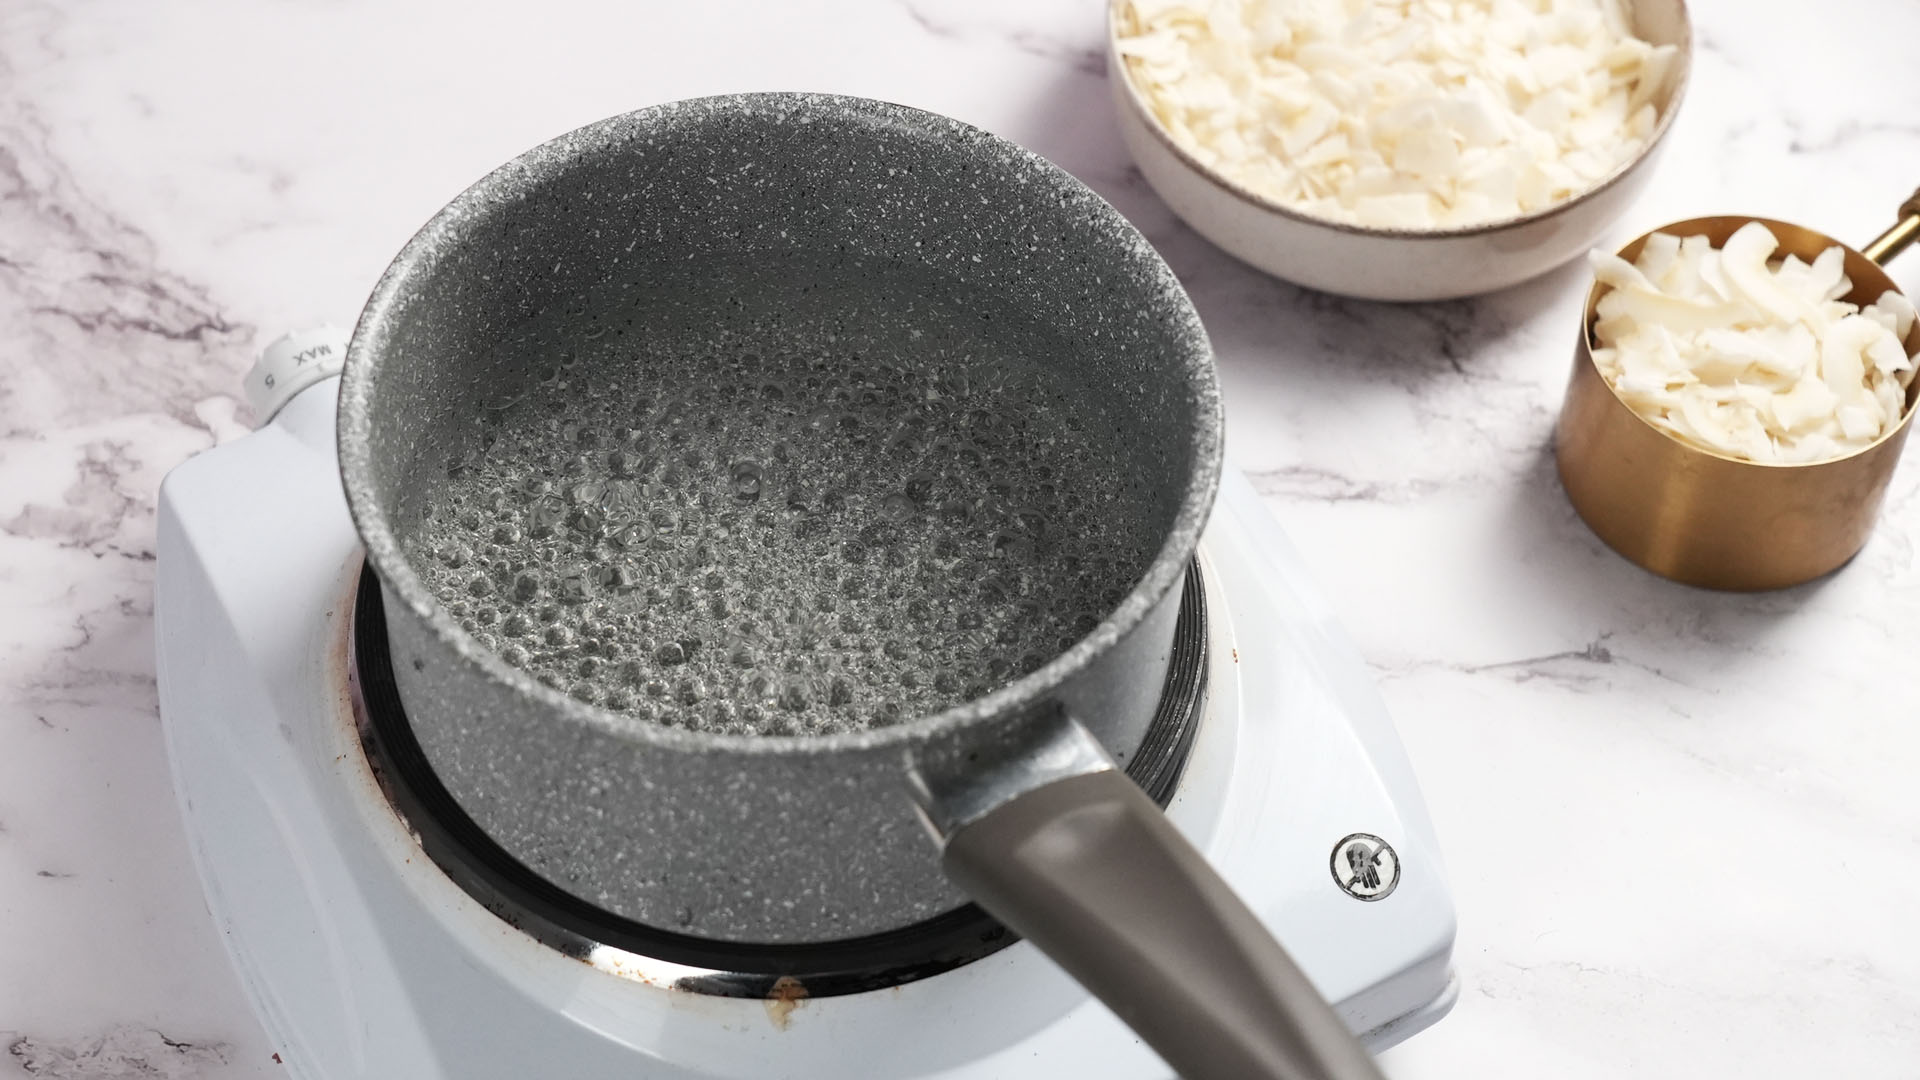
- Extract the Coconut Milk: Place the grated or blended coconut pulp into your cheesecloth or clean cotton cloth. Gather the edges of the cloth, twist tightly, and squeeze out every last drop of the rich, fresh coconut milk into your large bowl. This is the essence that will become your oil.
- The Natural Separation (Incubation): Cover the bowl containing the fresh coconut milk and let it sit undisturbed at room temperature for approximately 24 to 36 hours. During this time, the magic happens: the milk will naturally separate into distinct layers. You'll typically see a top layer of clear oil, a middle layer of curd (a semi-solid coconut protein layer), and a bottom layer of water. The ideal temperature for separation is around 25-30°C (77-86°F). Cooler temperatures might slow the process, while excessively warm conditions could lead to spoilage. For a deeper dive into the cold-pressing technique and to unlock even more of that real coconut flavor, explore our detailed guide on Unlock Real Coconut Flavor: Easy Cold-Pressed Oil at Home.
- Scoop and Strain the Oil: Once the layers have clearly separated, carefully scoop off the top layer of pure oil using a clean spoon. Be gentle to avoid disturbing the curd layer beneath. For extra clarity and purity, you can strain the scooped oil one more time through a fine-mesh strainer or fresh cheesecloth.
- Store Your Liquid Gold: Pour your freshly made virgin coconut oil into a clean, airtight glass jar. Store it in a cool, dark place. It will solidify below 24°C (76°F) and become liquid above it – both states are perfectly normal and indicate its purity.
Troubleshooting & Tips for Success
- No Separation? Ensure your room temperature is consistent and within the ideal range. Sometimes, it just needs a little more time.
- Too Much Water: If your milk is too thin, separation might be difficult or yield less oil. Next time, use less water during blending.
- Spoiled Smell: If the milk develops a sour or rancid smell before oil separation, it likely means it was left too long or the temperature was too warm, causing fermentation. Always use fresh coconuts!
- Yield: The amount of oil you get depends on the size and maturity of your coconuts. Don't be discouraged if your first batch isn't massive; quality over quantity is the goal here.
Beyond the Kitchen: Maximizing Your Homemade VCO
Your freshly made virgin coconut oil is incredibly versatile, extending its benefits far beyond the culinary realm. Its pure, unadulterated nature makes it a powerful ally for both your body and your home.
Culinary Delights
The rich, aromatic flavor of homemade VCO will transform your cooking and baking. It's a healthy and delicious substitute for other oils and fats.
- Frying & Sautéing: Its high smoke point makes it excellent for frying eggs, tofu, pancakes, or sautéing vegetables, imparting a subtle tropical hint.
- Baking: Replace butter or other oils in cookies, cakes, muffins, and granola bars for a delightfully moist texture and unique flavor.
- Smoothies & Drinks: Stir a teaspoon into your morning smoothie or coffee for an energy boost and creamy texture.
- Dressings & Dips: Whisk it into homemade salad dressings or use it as a base for flavorful dips.
- Popcorn: Drizzle melted VCO over freshly popped popcorn instead of butter for a gourmet twist.
Beauty and Wellness Applications
The natural emollient and antimicrobial properties of virgin coconut oil make it a staple in natural beauty routines.
- Natural Moisturizer: Apply directly to skin as a deeply hydrating, all-natural moisturizer, especially effective for dry elbows, knees, and heels.
- Hair Mask: Massage into hair and scalp, leave for 30 minutes (or overnight), then wash out for lustrous, conditioned locks. It helps combat frizz and adds shine.
- Makeup Remover: Gently wipe away even stubborn waterproof makeup, nourishing your skin in the process.
- Oil Pulling: Swish a tablespoon in your mouth for 10-15 minutes daily to support oral hygiene and fresh breath.
- Lip Balm: Dab a tiny bit on your lips for instant hydration and a healthy sheen.
To further master the craft and learn more advanced tips for ensuring purity and potency, check out our comprehensive Make Pure Cold-Pressed VCO: Simple At-Home DIY Guide.
Conclusion
Making virgin coconut oil at home is more than just a kitchen experiment; it's an act of self-care and a commitment to pure, unadulterated goodness. From its unparalleled fresh taste and intoxicating aroma to its preserved nutritional integrity, homemade VCO consistently outperforms its store-bought counterparts. The process of diy how to make virgin coconut oil is empowering, providing you with complete transparency and the deep satisfaction of creating a versatile, healthful product with your own hands. So, grab a few coconuts, embrace your inner alchemist, and transform your kitchen into a tropical oasis. Your pantry, your palate, and your body will thank you for making the switch to fresh, homemade virgin coconut oil.
